Fought At Hokh-Man
2405 days 10 hours 35 minutes ago
Battle Report
The Sand, the Undead and the Salamander
View Linked Report - CLICK HERE 1500 POINTSDisclaimer: this is my first battle report and English is a foreign language for me, so mistakes may occur.
On the blazing sands of Hokh-Man they met, scales and bones, fiery life and chilling undeath. Two forces were determined to establish their position in this region and affect the construction of sepulchral fleet. Salamanders and Undead – who will prevail here?
My force consisted of the following:
Salamander Primes Horde (Brew of Haste) – our infantry block, powerful in attack and sturdy in defense; a bit slow, but their Brew helps with this
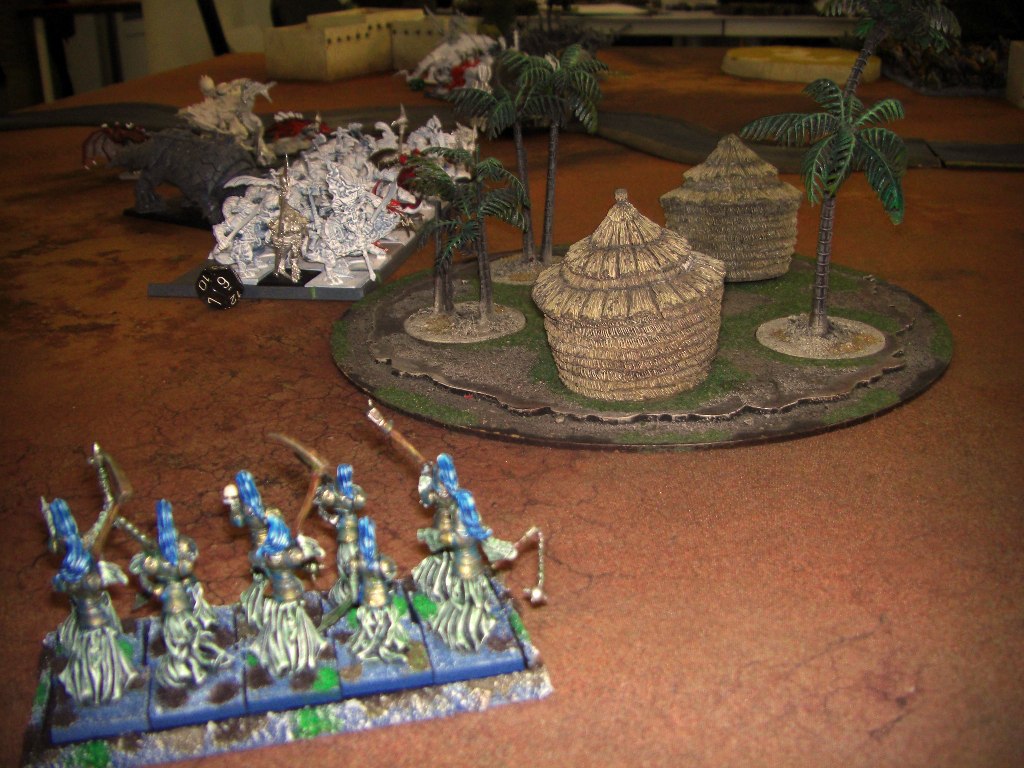
Whispering Scales – new shiny unit to test, fast if necessary and protected from shooting; as a regiment, they are a bit pale in comparison to hordes
Kaisenor Lancers Regiment (Maccwar’s Potion of the Caterpillar) – cavalry, fast almost everywhere and literally vicious; their defense, however, makes this regiment look like a glass hammer
Ankylodon Battle Platform – our anvil unit, the walking fortress with supplementary shooting; useful but expensive
Clan Lord on Fire Drake (Heart-Seeking Chant) – our leader and one of hammers, both in shooting and melee; this artifact looked pretty interesting for him, drastically improving already decent Breath Attack (16)
Fire Elementals Horde (Wine of Elvenkind)
and Mage-Priest (Surge, Inspiring Talisman) – yet another hammer and powerful support character; the trick with surging Elementals into the flank of enemy unit has devastating potential and this Fireball has its targets, too
Undead had the following units:
2 Zombies Legion (Brew of Strength and Blessing of the Gods) – massive anvil units, deceptively powerful in combat and notoriously hard to rout; only mass and flank charges could help there
Mummies Regiment (Brew of Courage) – well, another ‘hammer and anvil’ unit; multiple charges should help as well
2 Wraiths Troops (Crepognon’s Scrying Gem of Zellak and Quicksilver Rapier) – fast and dangerous, they can circle my units and threat with flank and rear charges; hard to rout, too
2 Balefire Catapults – a bit risky to use, they have decent damage potential; hard to ignore, but I lack units with long-range shooting or Fly to take care of them
Liche King (Heal, Bane-chant and Shroud of the Saint) – great support and main engine for Zombies’ long charges; hard to hunt down, so I had to leave him for good
Necromancer (Bane-chant, Mreb’s Grimoire of Unspeakable Darkness) – just like the previous one but more fragile and without Heal spell
The overall battle, however, was rather blank and consisted mostly of careful maneuvering and waiting for mistakes. This backfired drastically on me, but more on this later.
 The scenery consisted of houses in three corners (impassable terrain, useful for Wraiths only), hill in the fourth corner (decent position for Catapults, but Salamanders gain little from it), river with open terrain bridge in the center and forest near one of the houses (great for my Pathfinders). Deployment was rather usual – Salamanders had from left to the right Lancers, Whispering Scales, Clan Lord behind Lancers, Elementals with Mage-Priest behind them, Primes Horde with Ankylodon behind them (important mistake as he would be much more useful in the front line with his charge and shooting).
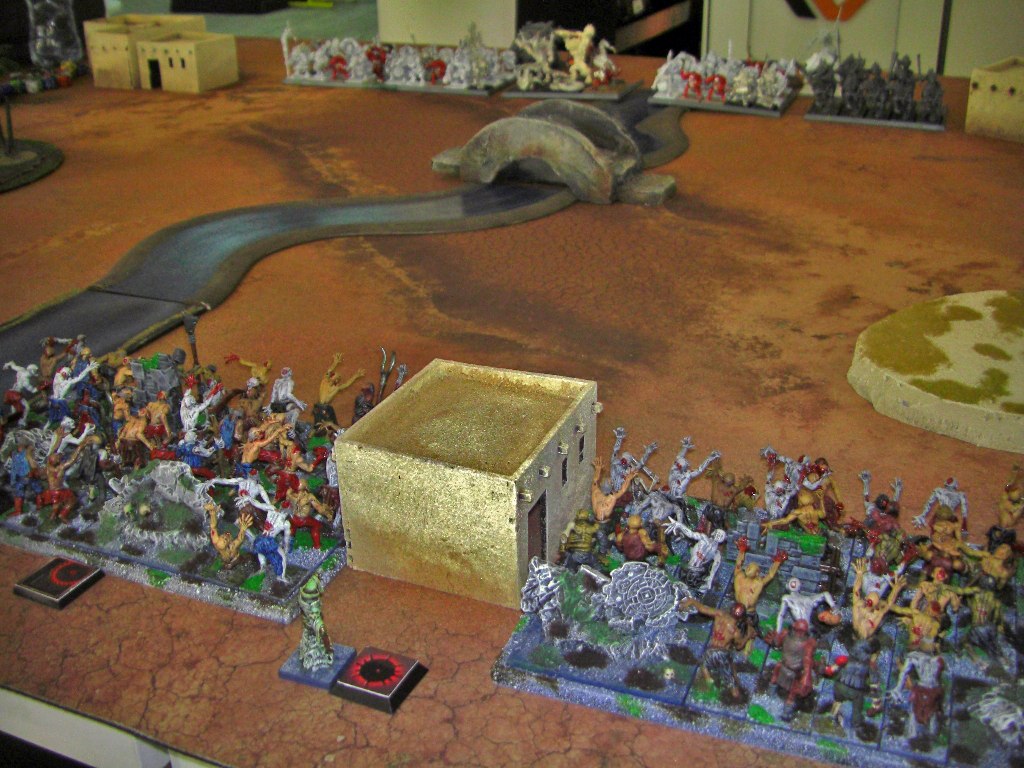 Undead had Wraiths with Rapier, Mummies, Zombies with Blessing and Liche King, Necromancer and another Zombies Horde, 2 Catapults and Wraiths with Gem (really good deployment with clear LoS for warmachines and flying units to charge flank or rear). Gem made me deploy more units (2 instead of 1) but this did not have much effect, from my point of view.
Good side has the first turn, so here we go!
Turn 1. Salamanders: minor movements advancing the opponents’ battleline. Monsters still hidden behind infantry and cavalry, Scales take cover in the river.
Undead: Wraiths take good position for further maneuvers, infantry blocks move sideways. Both Catapults hit the Primes, scoring decent 5 damage (they will keep missing from this moment up to turn 6).
Turn 2. Salamanders: slight advancements on both flanks, Ankylodon pivots to be able to see and maybe shoot Wraiths.
Undead: sideway movements and Wights advance further (one of them flies near my left flank, threatening Primes and Elementals).
 Turn 3. Salamanders: right flank prepares to charge next turn. Primes move into a forest and take cover. Ankylodon pivots to reach other Wraiths with shooting. Elementals and Mage-Priest slowly advance.
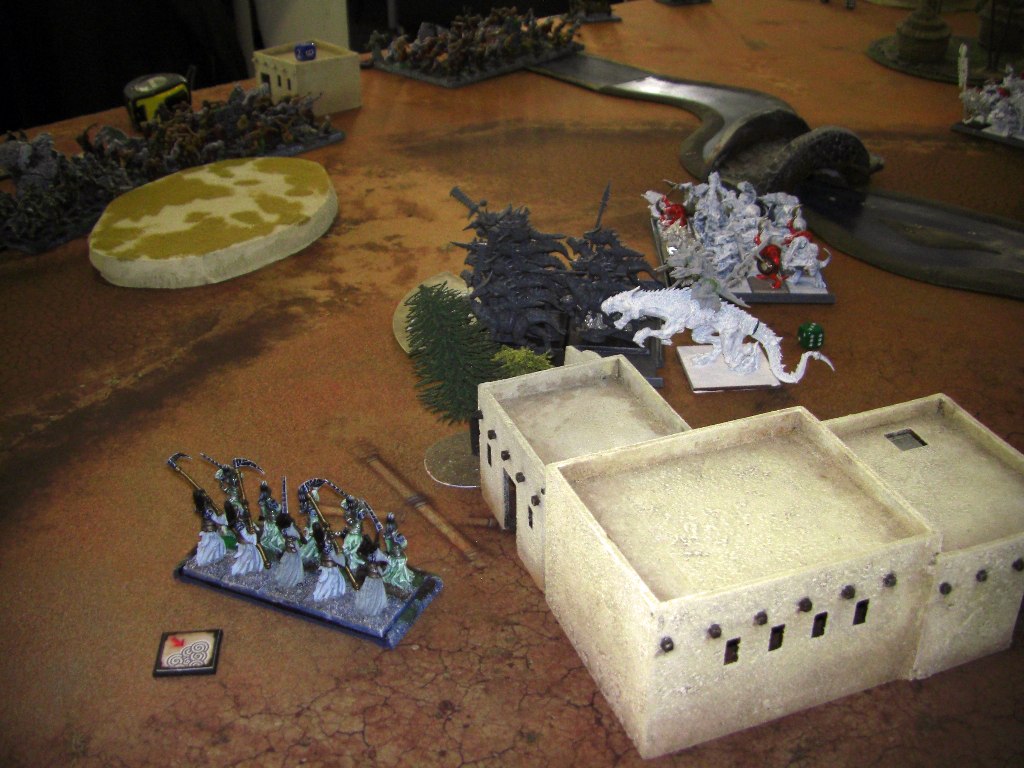 Clan Lord moves in a way that he is able to see the Wraiths with Rapier. Fire Drake’s breath results in 3 damage but hardy ghosts are still there.
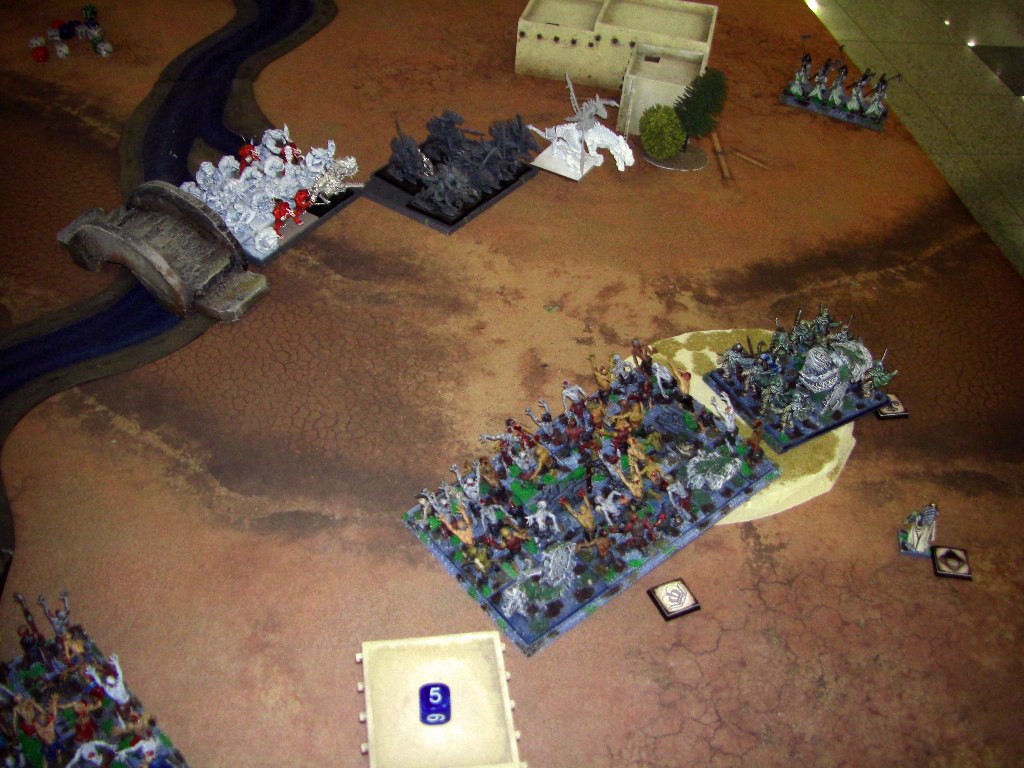 Undead: Units position themselves for possible charges while Wraiths with Gem pivot and face my left flank’s rears. Those with Rapier retreat and get ready for the following turn.
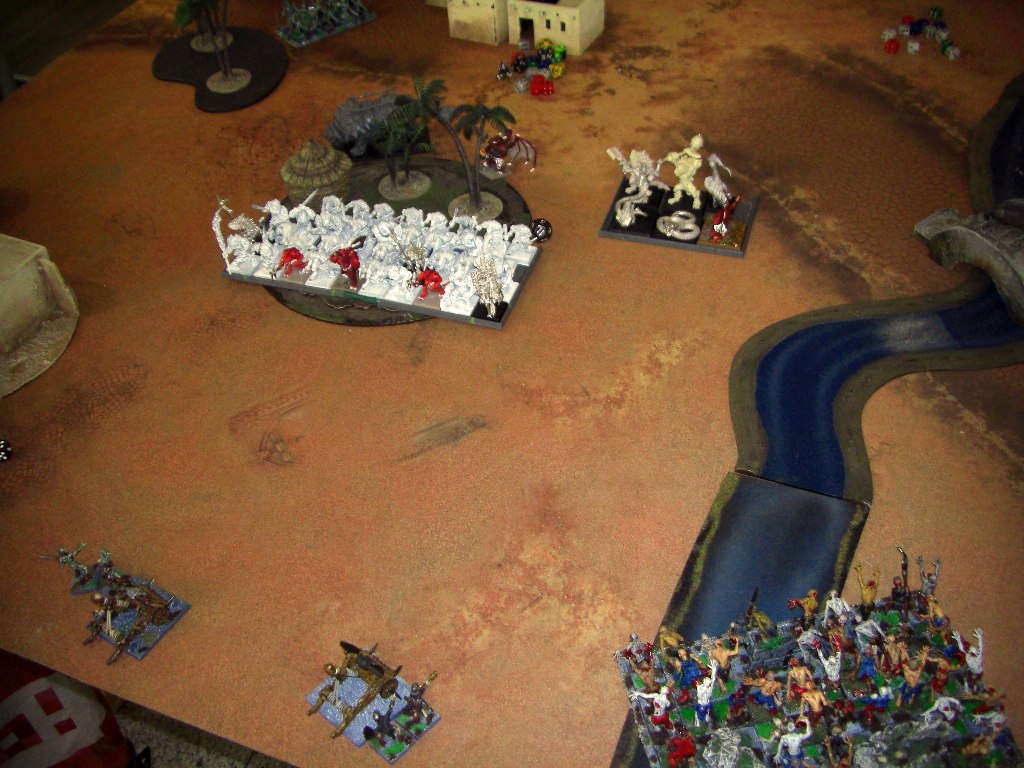 Turn 4. Well, this was the decisive turn as I suddenly rushed to play aggressive and made a couple of crucial mistakes. Salamanders: After a long analysis of the present situation I decide to charge Mummies with both Lancers and Clan Lord. Riders alone would pretty much fail to rout the regiment in one turn and get vicious counter-charge next turn. Lord, on the other hand, could potentially banish Wraiths with his breath but chances were still slim. Moreover, my Whispering Scales would lose his Inspiring and the last hope to survive charge of Zombies from the side (had to sacrifice them to protect Lancers). Primes and Elementals move a bit closer (definitely should had changed their facing to protect rear) to Catapults and Ankylodon pivots to try and expel Wraiths (their speed of 10 was left unnoticed by me). Mage-Priest enters the forest and gives his Inspiring to all other units. Shooting with Battle Platform – whopping 3 damage to Wraiths but they are alright. Mummies are devastated by charge and I decide to change facing for both Lancers and Lord (probably former ones would be safer if they advanced on D6 rather than turn around)..
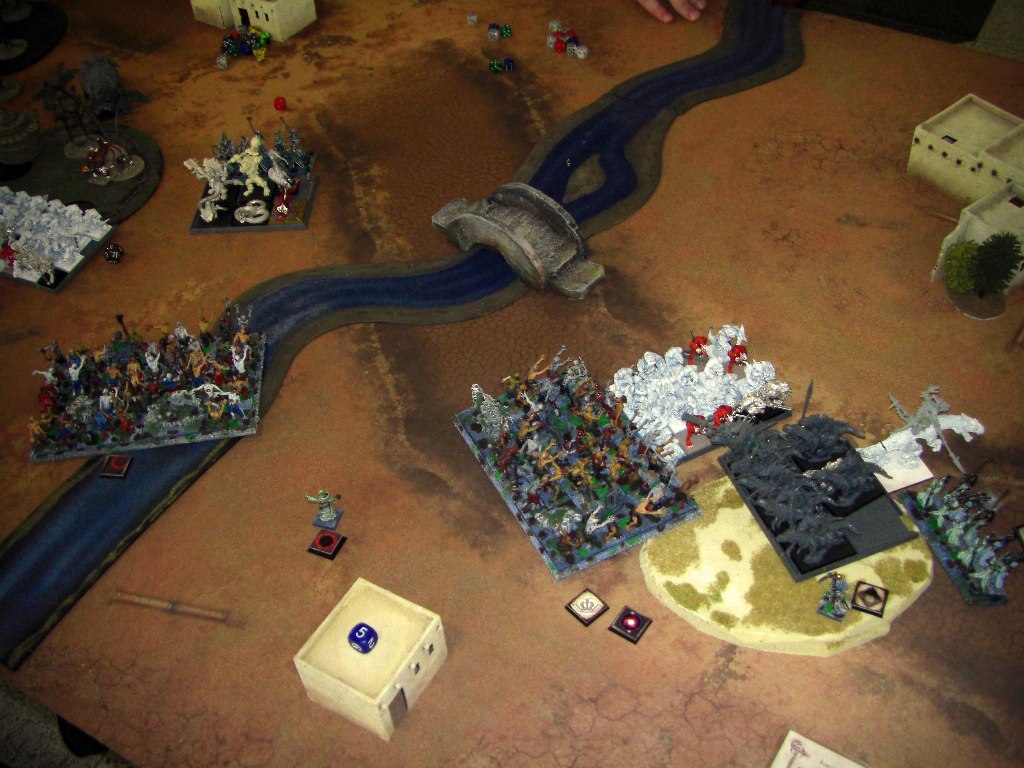 Undead: Wraiths charge rears of my Elementals and Kaisenor Lancers while Elite Zombies charge Scales’ flank. Bane-chant enhances this horde. Meanwhile, Zombies with CS (1) and Necromancer move over the river to clash with my Primes Horde. Some decent rolls and both “hammer” and one “anvil” units are obliterated. Damn.
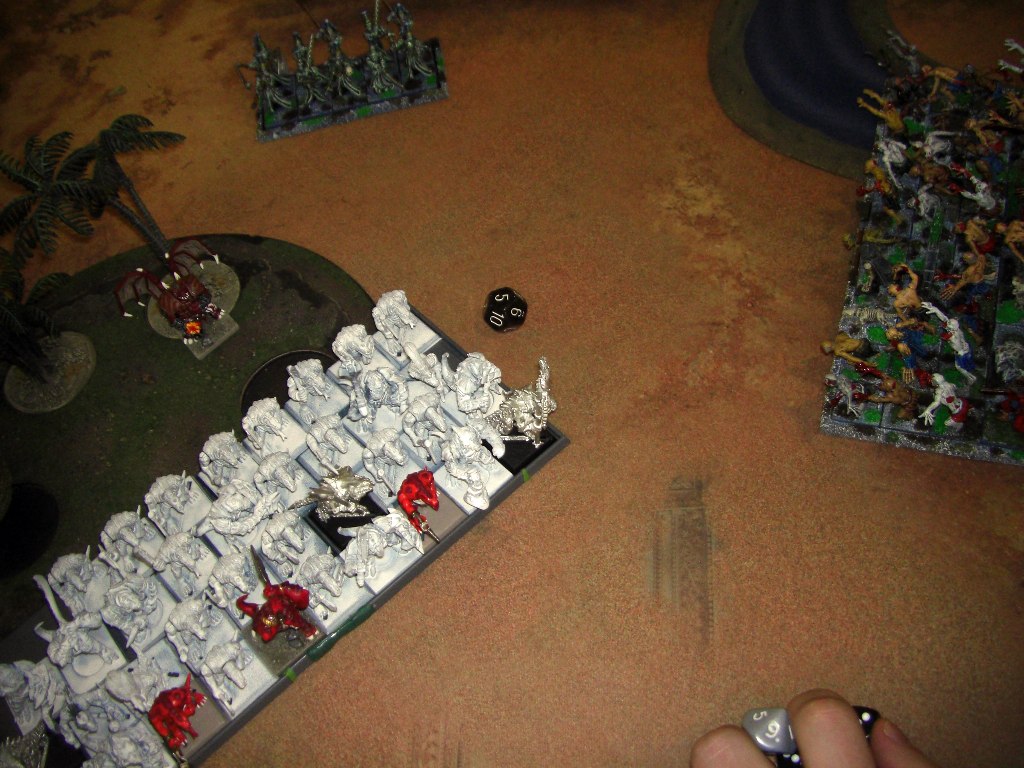 Turn 5. Salamanders: I desperately try to revenge for my fallen troops so Clan Lord, Mage-Priest and Ankylodon move to be able to shoot their respective Wraiths. Primes still defend the forest, simply lacking the distance to charge anything. Left flank succeeds while Fire Drake fails to rout the thrice-cursed fliers. Things look rather sad for me.
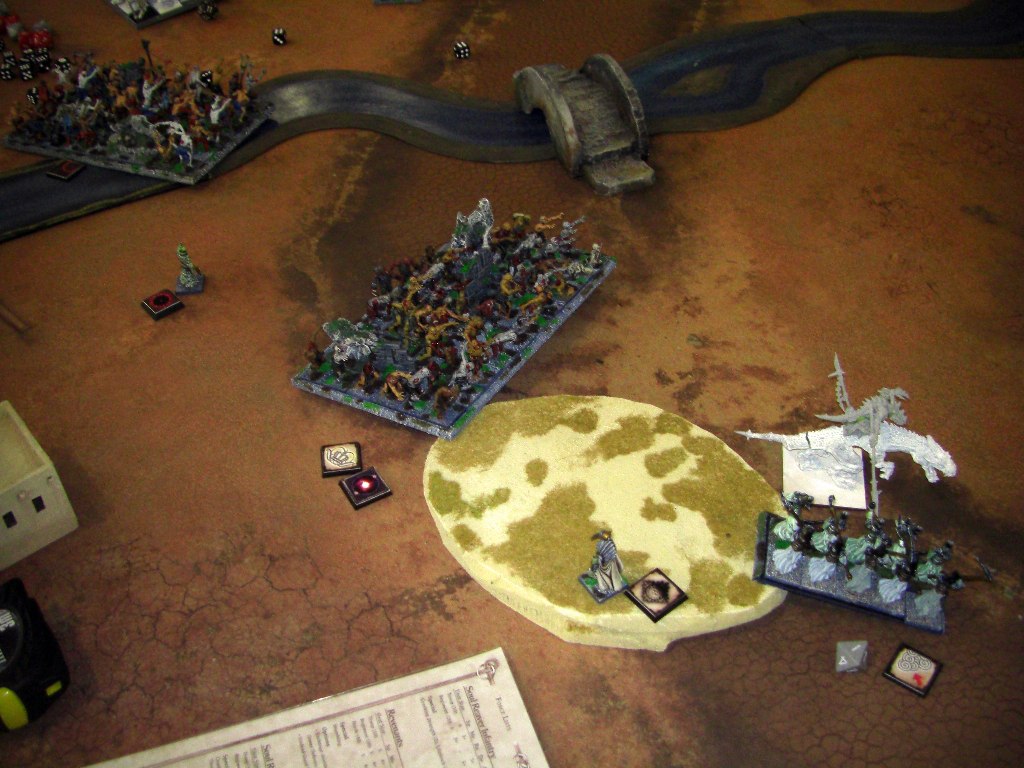 Undead: unslain Wraiths charge Clan Lord’s flank and Crushing Zombies Surge their way to my Horde. Damage is heavy but my units still hold their ground.
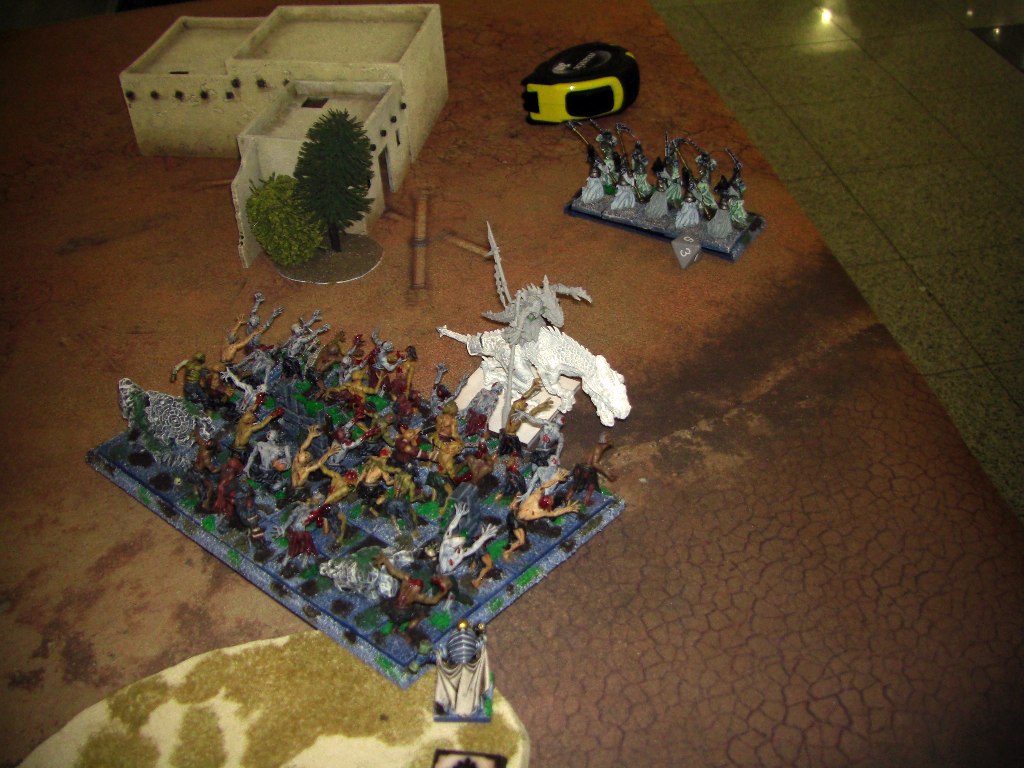 Turn 6. Salamanders: counter-charges wherever possible, Ankylodon advances to Zombies and Mage-Priest strides to at least take one of Catapults with Fireball. Wraiths are finally banished but that’s it. One more turn and there will be nobody to tell about the defeat…
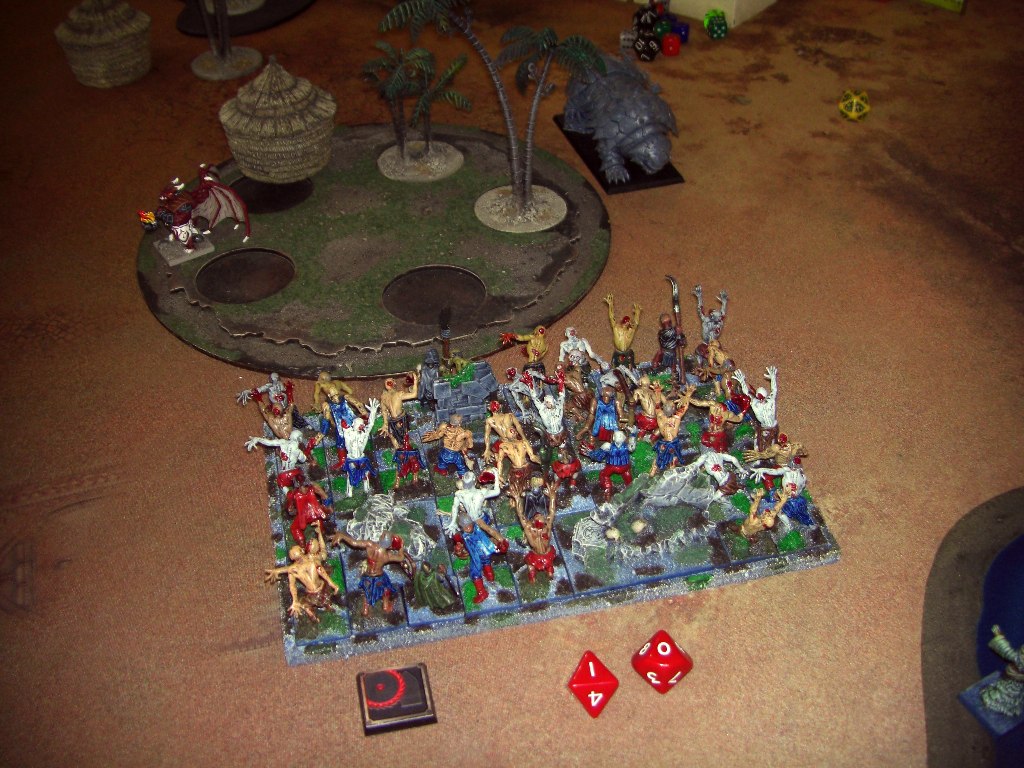 Undead: Zombies charge with Surge and Catapult suddenly hits dealing 4 damage. Clan Lord is steady but Primes are routed. This is the end, I guess.
Dice shows ‘2’ and the game ends with my loss. Undead receive this place for future fleet.
My main mistakes were uncertainty with offensive or defensive style of playing, deployment (Ankylodon should cover the front) and positioning (dividing the force was poor decision and those Wraiths were able to wreck my powerful Elementals and Lancers). Nevertheless, it was a great starting game with tense moments and (un)fortunate dice rolls; Marwin was a good opponent, too.
I hope this wall of text wasn’t too tedious.
Smells of rotten and seared flesh hung heavily in the air. Clan Lord Silent Flame observed the battlefield with thick layer of red in his eyes. His comrades were routed and his pride mortally wounded. No one but crawling legion of foul undead were there, ready for more bloodshed.
Sorcery! Its vile tendrils enveloped those who should stay dead and unnatural wave was advancing. Hollow sockets, clutching fingers and decaying bodies seemed to be everywhere. They (or is it just him already?) will have to retreat, there is no other way left.
Crisl, his loyal beast, turned heavy head and emitted a loud roar. Moments passed and answer could be heard. There are survivors, praise the Kthorlaq.
Silent Flame looked at the far sea one last time. It will be polluted soon, his homeland – endangered. Yet there were battles to fight, lands to protect and fire to keep. One day he will have his revenge and regain pride.
Lonesome figures retreated from charred sands, their eyes turned away.
Unearthly chill followed them.
They lost today.
Battle Report Author
Opponent
Army Lists Used In This Battle
Recommend Commander For Commendation
Share this battle with friends
MarwinWins

Thanks for kind words! All photos were taken by Marwin so regards for this go to him.
Nice report, very well written!
Awesome report! It’s clearly organized, well-documented, and filled with great photos! Thoroughly enjoyed this…keep it up!
Саламандры – огонь)))
Yes, it was a VERY hot battle!